
My $60 Version (yes, I am not lying...)

I have seen the "multipanel mirror" on every decorating show and in every celebrity home. I wanted it! I had to have it. But I wasn't willing to dish out the $700 Pottery Barn was asking! I showed this picture to my trusty husband and he said "oh, I could do that!" (yes, ladies, this is why I married him.... hha)
HOW TO:
Materials all from Lowes
 Beveled Mirror Tiles
Particle Board
(those other trim pieces were used for cutting straight..)
 Oil Rubbed Bronze Spray paint (I went through 2 cans)
Clear protective coat

1x3-10' Hemlock Board for framing
- Lay your mirrors out how you want and measure very accurately.We chose to do 9 mirrors because it fit where we wanted it. Our mirror came out to 40 lbs, so anymore mirrors might have put us over the 50 lbs hanging limit!

 2. Cut the ply wood and add 2 layered support framing to the back. Screwing the pieces in.
TIP: Install edge supports to the full depth of the frame. This helps support the Frame.

 3. Cut the hemlock board to make a frame around the outside. We applied glue then nailed it in.
TIP: Use a Miter Saw instead of a hand saw (what my husband used)

 Back of Frame (above)

Front of the Frame (above)
TIP: Make sure the frame is not mesh with the front, leave a little lip so that the mirrors have a nice seamless fit.
 4. Then, of course, there is always the finish work! (don't we all hate that part). Luckily my husband did it this time THANKS HUN!

 6. My husband glued all the mirrors on with Liquid Nails and we let it sit for 24 hours. Then, to my surprise, he hung it. with a heavy duty picture hanging wire ($2.68 @ Lowes) attached to the back, while I was out teaching ballet, he is just a sweetie :)
I came home at 11pm from teaching to this on the top of my stairs! SO BEAUTIFUL!

 4. Then, of course, there is always the finish work! (don't we all hate that part). Luckily my husband did it this time THANKS HUN!
 5. SPRAY PAINT the H** out of it! I used 2 full cans of the Oil Rubbed Bronze spray paint then followed with a coat of the sealant to give it a nice, professional finish.
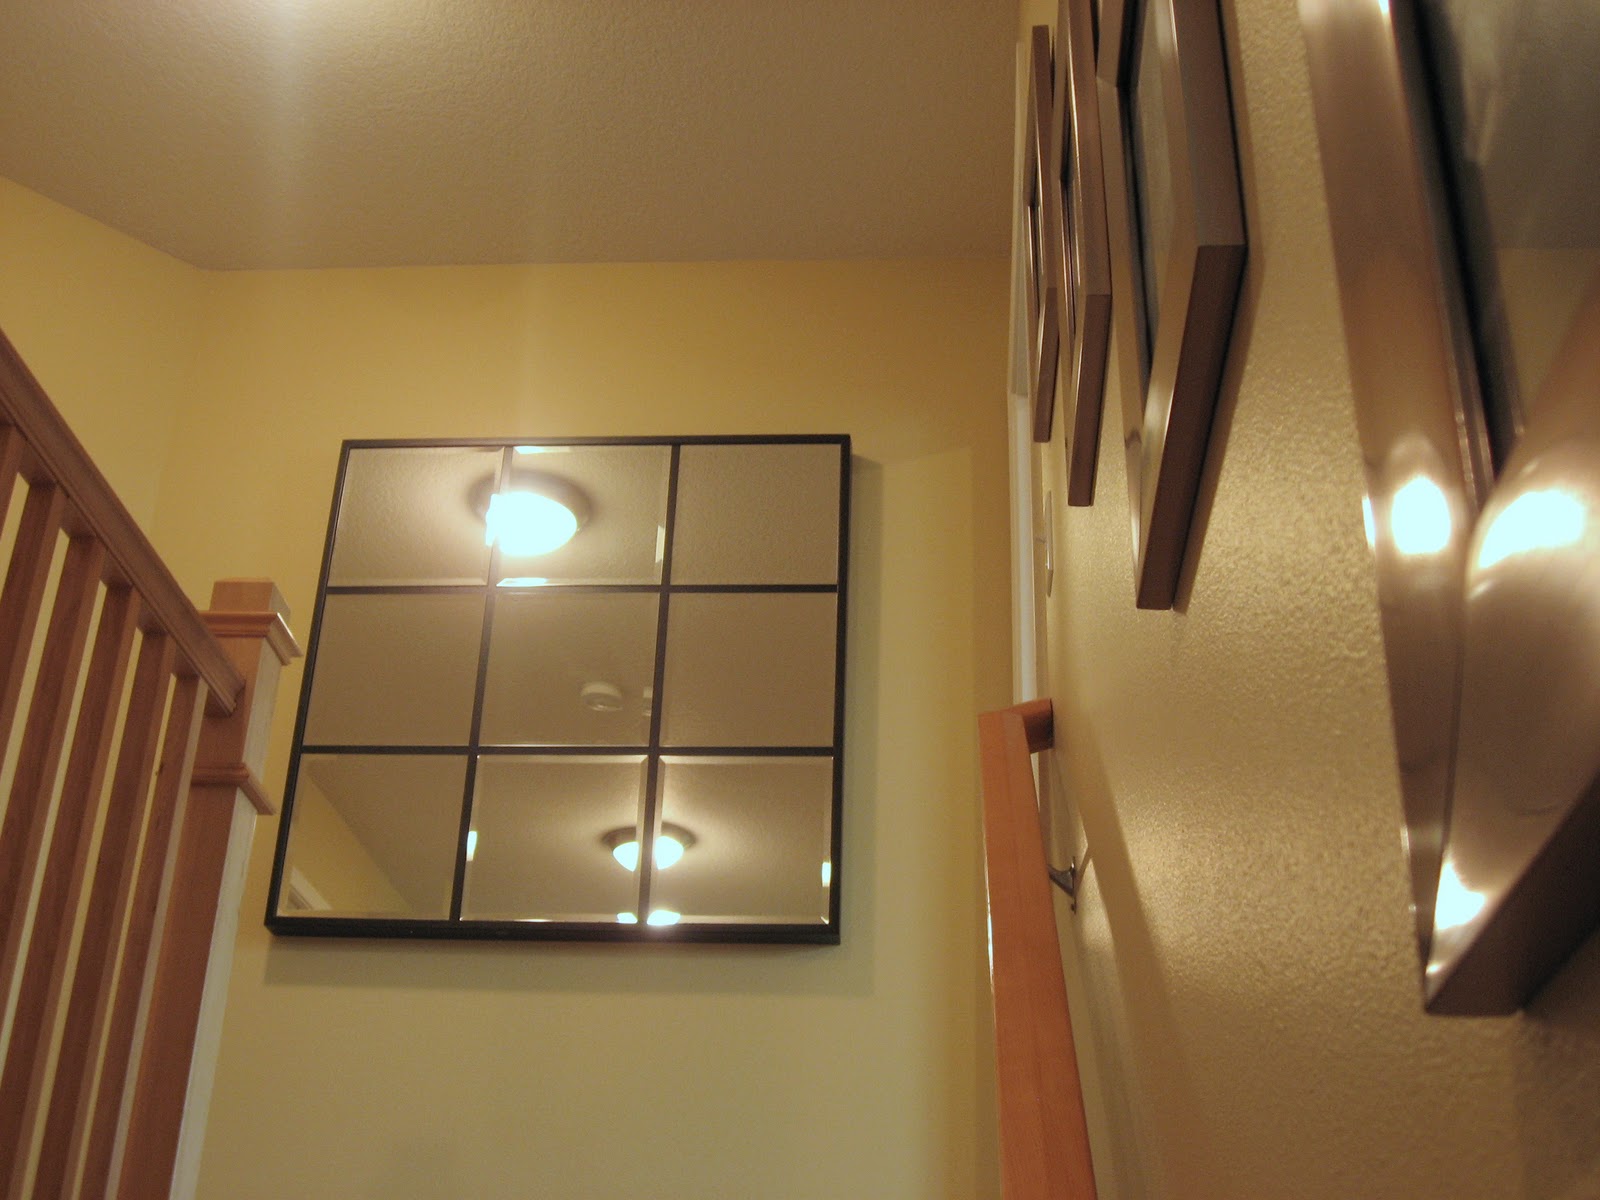

I came home at 11pm from teaching to this on the top of my stairs! SO BEAUTIFUL!

Side View


